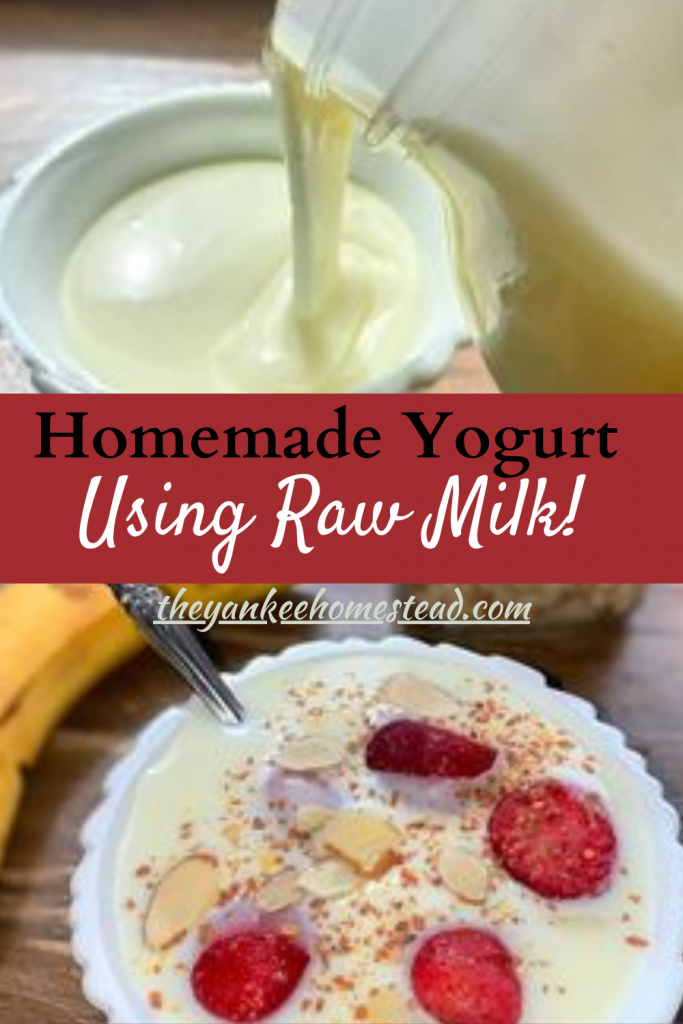
Just Five Steps and Two Ingredients!
How to make homemade, probiotic-rich, raw milk yogurt in a snap! And without the use of a special yogurt maker. Just your trusty 5 quart saucepan, a stovetop, and a whisk to get started.
This recipe is for plain yogurt, but you can easily add vanilla or almond extract, your choice of sweetener, fruit or jam to tailor it to your tastes!
What Is Raw Milk?
Raw milk is milk that has not been pasteurized through a heating and cooling process.
Raw milk can come from any animal, the most popular being dairy cattle, goats, sheep, yaks, and even camels!
Only about 1-3% of the population drinks raw milk.
Testimonial From an Osteopathic Physician D.O. On Raw Milk and It’s Benefits.
Joseph Mercola, DO, osteopathic physician and author, in an Apr. 16, 2016 article for Mercola.com titled “Raw Milk and Cheese Are Undergoing a Renaissance as Artisanal Foods Rise in Popularity,” wrote:
“[Pasteurizing milk] destroys enzymes, diminishes vitamins, denatures fragile milk proteins, destroys vitamin B12 and vitamin B6, kills beneficial bacteria, and promotes the growth of pathogens.
Meanwhile, raw milk contains:
- Healthy bacteria that are beneficial for your gastrointestinal tract
- More than 60 digestive enzymes, growth factors, and immunoglobulins (antibodies). These enzymes are destroyed during pasteurization, making pasteurized milk harder to digest
- Phosphatase, an enzyme that aids and assists in the absorption of calcium in your bones…
- Beneficial raw fats, amino acids, and proteins in a highly bioavailable form, all 100 percent digestible
- Vitamins (A, B, C, D, E, and K) in highly bioavailable forms. Also has a balanced blend of minerals (calcium, magnesium, phosphorus, and iron) whose absorption is enhanced by live lactobacilli.”
What Is Homogenization?
Homogenization is the process of passing milk under high pressure through tiny holes which decreases the diameter and increases the number of surface area of the fat globules. This ensures that the molecules do not regroup and form a cream layer on top of the milk, which you do get with raw milk.
Can I Use Pasteurized Milk?
Yes, pasteurized milk will work fine but I do recommend using whole milk, as 2% or nonfat will result in very thin, drinkable yogurt. (Unless that is what you are looking for.) Some people may want to stick to pasteurized milk for many different reasons, and that’s fine as well! No adjustments will need to be made to the recipe. However, if you still want that extra creamy feel you could add 1/4 cup heavy cream to the milk.
How Is Raw Milk Converted Into Yogurt?
Raw milk is converted into yogurt by adding in active live cultures like lactobacillus bulgaricus or streptococcus thermophilus. Kept at a steady and warm temperature for a period of 6-12 hours gives the live cultures a chance to “eat” the sugars naturally found in the milk, known as lactose.
As a result, the milk will thicken and produce lactic acid. This is what helps to preserve the yogurt and gives it its tangy taste.
Ingredients
Half gallon of raw or pasteurized milk
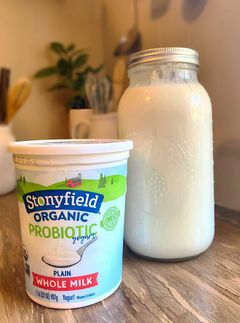
3 tablespoons of plain yogurt with active cultures
Equipment
Large saucepan
Cover for saucepan or plastic wrap
Whisk
Glass or ceramic bowl
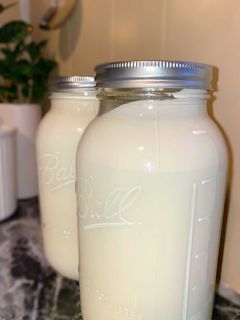
Glass Jar for storing yogurt
Candy Thermometer
Tablespoon
Towel
Heating pad (optional)
Instructions:
Step 1: Start by rubbing an ice cube (or cold water for roughly one minute) on the inside bottom of your saucepan to help prevent scorching your milk. Next, add in the 2 quarts of milk. Turn on medium heat and bring to a simmer, heating to 180-200 degrees Fahrenheit, stirring occasionally. Another way of telling if the milk has reached the temp is when you start seeing small bubbles form in the milk around the circumference of the saucepan.
Step 2: Once the milk has reached the proper temperature, remove from heat and allow to cool to about 110-120 degrees Fahrenheit. Additionally, you can estimate the temperature by sticking your finger in the milk. The milk should feel pleasantly warm, and you should be able to keep your finger submerged in the milk for about 10 seconds without it being so hot that it burns.
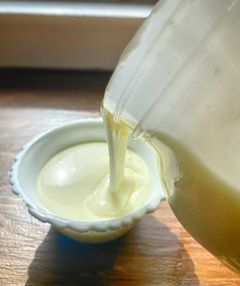
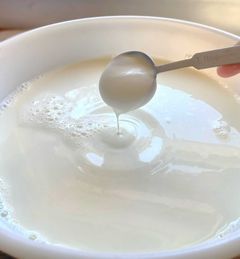
Step 3: Transfer about 1/3 of the warm milk into a glass or ceramic bowl and add in the 3 tablespoons of yogurt. Whisk together until fully incorporated. Pour the milk/yogurt mixture back into the original pot and mix together. Cover saucepan with a lid, tin foil, or plastic wrap to help keep in the heat. Additionally, keep the saucepan warm by wrapping it in a towel or two and setting in a warm place such as inside the oven with the light turned on, or on a heating pad.
Step 4: Allow the yogurt to sit for 6-12 hours. I let mine sit for the full 12 hours, sometimes even a couple hours longer as I like mine very tangy. The longer it sits, the tangier and thicker it will become. Once the 6-12 hours is up you can transfer the yogurt to the refrigerator to chill for at least 4 hours before serving. The yogurt will continue to thicken as it chills.

Store in the refrigerator for up to two weeks. In the case that you will continue making yogurt and using it as a culture for a new batch, it’s best to use it within 7 days.

Homemade Raw Milk Yogurt
Ingredients
- 2 quarts Raw milk Or pasteurized if preferred
- 3 tbsp plain yogurt
Instructions
- Start by rubbing an ice cube (or cold water for roughly one minute) on the inside bottom of your saucepan to help prevent scorching your milk. Add in the 2 quarts of milk. Turn on medium heat and bring to a simmer, heating to 180-200 degrees Fahrenheit, stirring occasionally. Remove from heat and allow to cool to about 110-120 degrees Fahrenheit.
- Transfer about 1/3 of the warm milk into a glass or ceramic bowl and add in the 3 tablespoons of yogurt. Whisk together until fully incorporated. Pour the milk/yogurt mixture back into the original pot and mix together. Cover saucepan with a lid, tin foil, or plastic wrap to help keep in the heat. In addition, wrap the saucepan in a towel or two and set in a warm place such as inside the oven with the light turned on, or on a heating pad.
- Allow the yogurt to sit for 6-12 hours. Once the 6-12 hours is up you can transfer the yogurt to the refrigerator to chill for at least 4 hours before serving. The yogurt will continue to thicken as it chills.
Tips For Making Homemade Raw Milk Yogurt
- Always use the freshest milk possible over milk that is older and may be starting to sour.
- To make Greek yogurt set a colander over a bowl lined with cheesecloth. Take your finished yogurt (before or after it’s been chilled) and pour it into the colander. Allow to sit refrigerated for 2-6 hours. Be sure to keep an eye on it and once it’s reached your desired consistency, it can be placed into a glass jar and back into the fridge. If the yogurt happens to become too thick, you can stir back in some of the whey to help thin it out.
- When choosing yogurt to use as a live culture, find one that has living cultures such as lactobacillus bulgaricus or streptococcus thermophilus. and is as natural as possible. I like to use Siggi’s plain yogurt, or Stonyfield organic whole milk plain yogurt.
Great Ways To Enjoy Your Homemade Raw Milk Yogurt
- Raw milk yogurt parfait
- Fruit and yogurt popsicles
- Added into baked goods for better texture and extra moisture.
- Fresh fruit and raw milk yogurt smoothies
- Make some raw milk frozen yogurt
- Raw milk yogurt and herb dips
- Yogurt melts
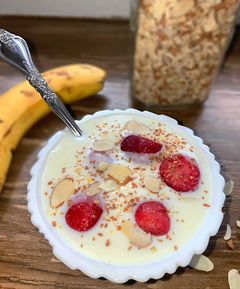
- Make a yogurt dessert with bananas, strawberries, sliced almonds and some chocolate chips
Check Out My Other Fermented Food Recipes!
How To Make Homemade Sauerkraut
Pin It!
Leave a Reply